Join for FREE | Take the Tour Lost Password?
Shop deviantART for the
holidays and save BIG!
Click here! :holly:
[x]

deviantART

:turbopoke:
 
©2006-2009 ~MissLittlewood
:iconmisslittlewood:

Artist's Comments

Please clicky for bigness!


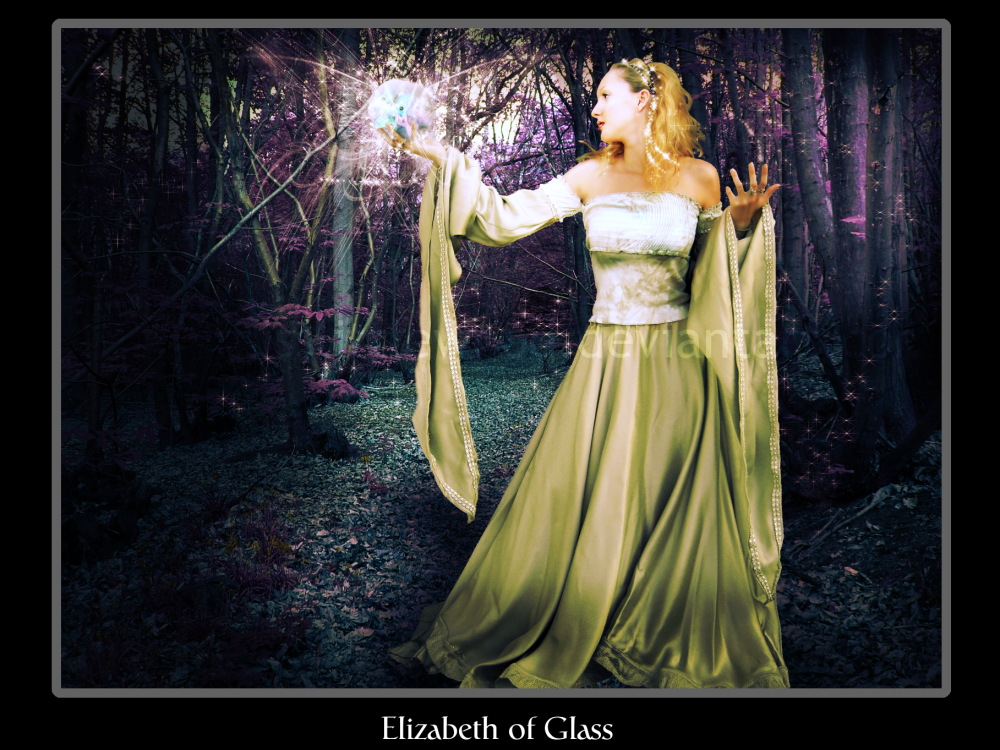
Got the title from a track by my favourite band All About Eve This was a sort of multi program effort. The actual manipulation of the woman and the background were done in PSCS2 and the orb, framing and text were done in GIMP. Enjoy!

Stock Listing:
Background - Morguefile
Woman *Lisajen-stock
Brushes by ~exotika-brushes
Butterfly PSD (which is in the orb - see, i told you to veiw full!) by ~SpoiledDream

Thankies!

Please respect the rights of myself and the stock artist used in this art. You may not reproduce this image elswehere either in print or on the web.

That is all :salute:

Comments


love 0 0 joy 0 0 wow 0 0 mad 0 0 sad 0 0 fear 0 0 neutral 0 0
:iconmanga-cat-girl:
beutiful work as usual! ^^ i love the glow of the orb! :D

--
Avatar made by `Chimpantalones (duh)
:iconmisslittlewood:
:glomp: Thankyou sweetie. And for the fave as well. :hug:

--
Algy Saw the Bear
The Bear Saw Algy
The Bear was Bulgy
The Bulge was Algy

~ (c) Barneys Bunch circa 1985
:iconsurfing-ant:
I love how the light seems to be showering flow the orb. Great use of stock, it's all done very seamlessly too. I think the lighting is awesome! ANd how did you do her hair like that? I can never get it to look very good.
Great work :aww:

--
Tumblr
:iconmisslittlewood:
Well, Basically i followed a tutorial a while ago that shows how to make hair better. I just sort of tweaked it so that it gives me the effect that i want. You can have a look at it here. Its for PS but it works with GIMP too. If you want the default PS brushes, i can convert mine to .gbr for you if you want to try out this technique... [link] Let me know.

you can get all these effects using GIMP :
the lighting is done by lassoo selecting the areas i want to lighten, feathering by about 70, then using Layers>Colours>Curves to lighten the area.

The overall image lighting is done by lowering the magenta tones in the image. In GIMP you can do this by going to Layers>Colours>Colour Balance.
For the finishing touches, i add a gradient map to the finished image. This can be done in GIMP as well. When you have finished your image, flatten/merge it down to a single layer, then duplicate it. choose two nice contrasting colours as forground and background colours - For a PS look, go for the purple and orange..
Go to Filters>Colours>Map>Gradient Map
Once its done that, set the layer to overlay or whatever looks best. Also fiddle with the opacity a bit too..
:lol: Hope that was useful!?!

--
Algy Saw the Bear
The Bear Saw Algy
The Bear was Bulgy
The Bulge was Algy

~ (c) Barneys Bunch circa 1985
:iconfrozenstarro:
really beautiful work :)

--
"I have my flaws, too. The difference is my flaws are personal. Yours are professional." (Michael Hogan as Saul Tigh on Battlestar Galactica)

my current stock ~frozenstocks and my old stock *ro-stock
:iconsurfing-ant:
Thanks a lot for the link, I'll check it out and hope it teaches me some good tricks.
Thank you for sharing your tips too :aww: much appreciated!

--
Tumblr
:iconmisslittlewood:
Thankyou :heart: and for the fave too xx

--
Algy Saw the Bear
The Bear Saw Algy
The Bear was Bulgy
The Bulge was Algy

~ (c) Barneys Bunch circa 1985
:iconmisslittlewood:
:lol: NP

--
Algy Saw the Bear
The Bear Saw Algy
The Bear was Bulgy
The Bulge was Algy

~ (c) Barneys Bunch circa 1985
:iconlorivintage55:
Magical, pretty colors :)

Details

December 2, 2006
1.2 MB
1.2 MB
1000×750

Statistics

14
8 [who?]
423 (0 today)
0 (0 today)

Share

Link
Embed
Thumb

Site Map